follow us:

Category Archives: Photo Tips

Importance of Photographic Prints

I strongly believe in the tangible. Things that you can hold in your hands, study and lovingly pass down to our children and those who are yet to come.

Longevity

Digital images certainly have a place in our world, but technology fails and becomes outdated way too fast. (Remember floppy discs?) I know that I have lost my fair share of images on my phone due to user error and technology hiccups. I am super good about backing up my photos, but since it is all technology, even those have failed on me a time or two. A few years ago, our family computer died and we lost some important files and photos, but luckily I had prints of all the photos, so it wasn’t quite as heartbreaking as it would have been if I never had those prints.

Prints can last hundreds of years, especially when printed professionally, but the same cannot be said about digital images. In fact, some of the CDs that I backed up photos from my daughter’s first years of life have already started to corrupt. That’s less than 12 years! Many new computers don’t even have CD drives anymore. There is no way that I could pass down a CD to my daughter or have the time to transfer ever single image every time technology becomes outdated. I can certainly pass down a photo album, framed prints or loose photographic prints though.

Leaving a Legacy

With proper care, photographic prints can really stand the test of time and, in a sense, keep us alive. I absolutely love looking at old photos, especially of my family. There is nothing like holding a picture in your hand and studying it. It gives me a glimpse into people’s lives and gives me clues into what things were like back then. I can sense people’s personalities, fashion sense and relationships. Even the paper, framing or album can tell me a part of the story. I love seeing my grandparents and parents as they were younger. It makes them even more relatable to me somehow and I can see traits that they have passed down to me. I even love looking at worn pictures of those who I have never met in life. The portraits are much more formal and it always amazes me how dressed up everyone was, even if they were going for a hike. There is something in their eyes that captures me and stories begin to unfold.

Positive Self Esteem

Studies show that hanging family photographs in your house actually increases your children’s self-esteem. Think about it. How do you feel when you see your picture hanging in your home or someone else’s home? I know that it gives me warm fuzzy feelings. Makes me feel loved and cared for. Now, think of how your children must feel when they see their images displayed prominently in your home. I bet they feel much the same way. Whenever I see children looking at images of themselves, they always light up with big smiles. They point things out and talk about that moment. Older children tell stories about that time in their lives.

David Krauss, a licensed psychologist from Cleveland, Ohio says, “I think it is really important to show a family as a family unit. A photographer’s job is to create and make the image look like a safe holding space for kids where they are safe and protected.  Kids get it on a really simple level.”

Krauss co-authored “Phototherapy and Mental Health”, which is considered a founding text for the use of photography in therapy. He believes that family photographs belong on the wall. “I am very conservative about self-esteem and I think placing a family photo someplace in the home where the child can see it every day without having to turn on a device or click around on a computer to find it really hits home for that child’s sense of reassurance and comfort. They have a certainty about them and a protecting quality that nurtures a child.”

Provide Comfort to Parents

I actually think the same is true for adults. I have clients who mention that when they are having a hard day with their children, they look at a picture of them on the wall and they are reminded how sweet their children are and that this rough spell is temporary.

One mom said she was walking the halls in the middle of the night with her crying son when she stopped for a moment as she caught a glimpse of one of their newborn portraits. In that framed piece, she is cradling her sweet baby boy when he was just a couple weeks old. She saw the love on her face, the peaceful contentment of her infant and couldn’t help but smile. She said it comforted her in that moment when she needed it the most. That comfort would not have been given to her in that moment if she only had images on her phone, mobile device, computer or in a drawer on a CD or USB drive.

Best of Both Worlds

You truly can have the best of both worlds! As I mentioned, there is a place for digital images and I think they are very important to have as well. It is a great way to take your images on the go when you have them stored on mobile devices. Perfect for showing off your family to others online and in person. Social media is such a big part of how we communicate and share important things in our lives with family and friends. Our children love looking through pictures on our phones too. In fact, they even know how to take pictures with our phones and how to swipe through images at an early age. However, for all the reasons mentioned here, I don’t think that images should just sit on devices, electronics or on USBs. Print your photos and protect your legacy.

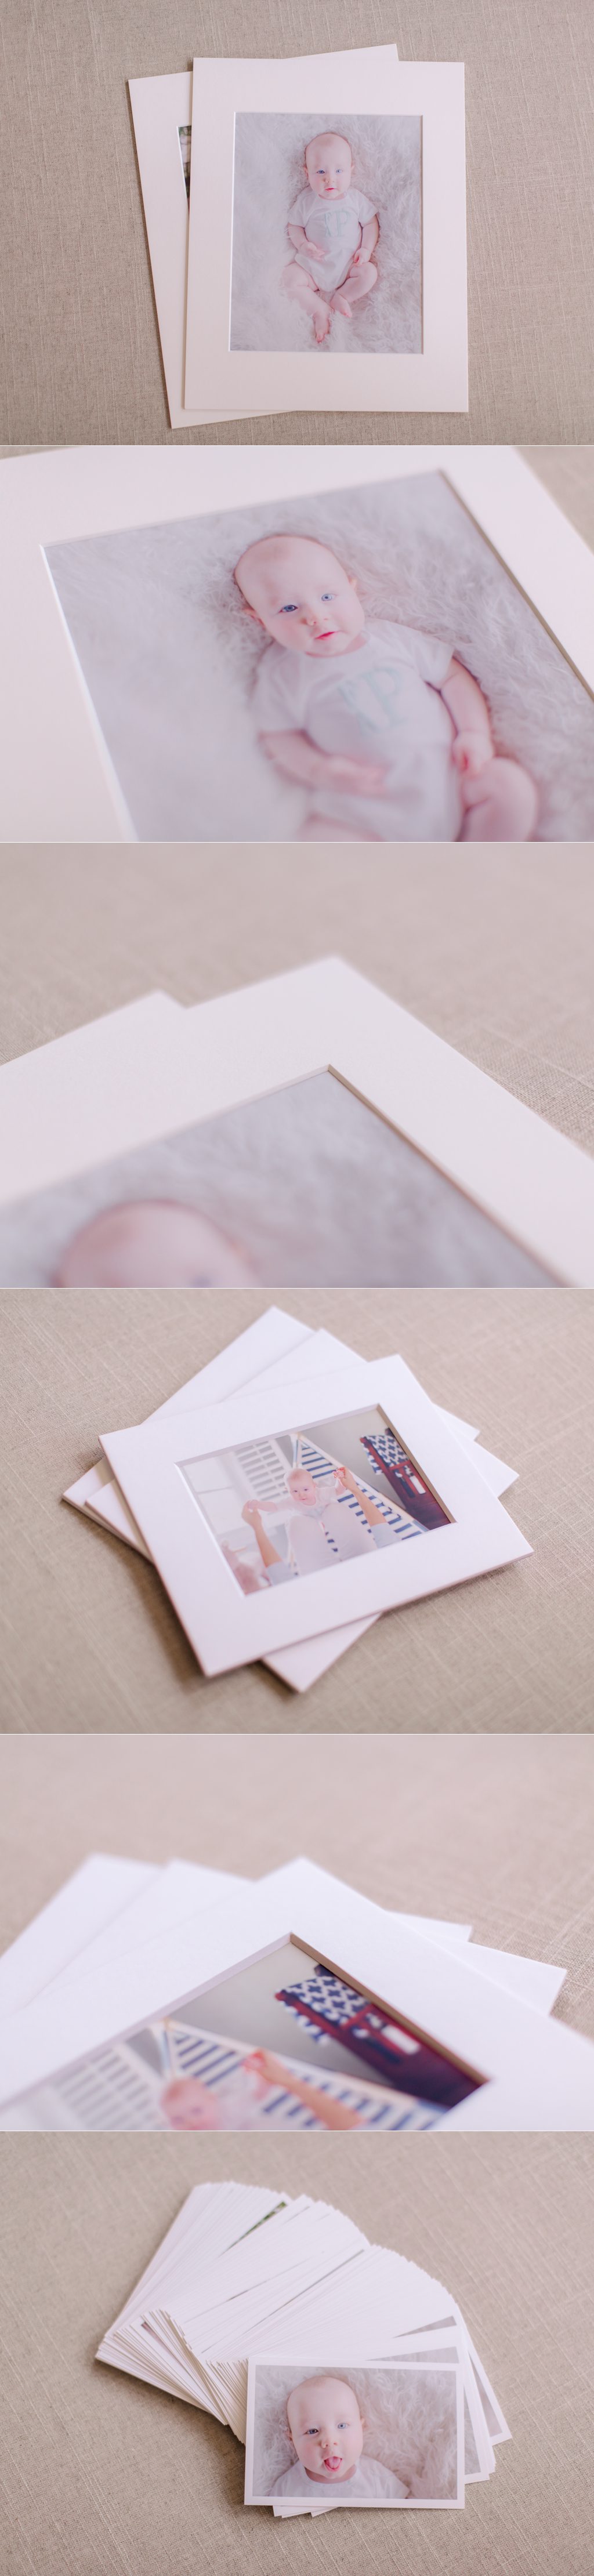
I offer professional heirloom quality photographic products here at Yvonne Niemann Photography, which is excellent for your most treasured portraits. When you order digitals through me you will always receive something in print as well. I know how busy life can be and how even with best intentions, we don’t always get around to printing digital images. It is why I like to include photographic products to take some of the work out of the equation for you.

Printing Recommendations

For printing images on your own, I highly recommend MPIX. They offer good quality prints and canvases. For printing images straight from your phone and/or Instagram account, I like Artifact Uprising. Super easy software and top notch products. I like to print a softcover book every year of our family candids from my husband’s and my phones. Framebridge is another great online frame company that is great for printing your Instagram pictures and images from your mobile devices. For cards, I adore Athens very own Oconee Printing. They have an online store, but they do amazing customized work too. It’s who I use!

Show your family just how important they are to you by showcasing photos and photographic products throughout your home. Pass them down to your children, grandchildren and great-grandchildren one day. Start today! You won’t regret it. Promise.

If you would like to see what photographic products I offer here at Yvonne Niemann Photography or perhaps would like to book a portrait session that tells your family’s story, contact Athens, GA family photographers of Yvonne Niemann Photography today. info@yvonneniemannphotography.com | 706.713.0676


Photo Tip – Capturing children on the go!

Fun Child Portraits in St. Louis taken by Yvonne Niemann Photography

I get a lot of questions on how to improve family candid images and I try to answer them through my monthly e-newsletter and here on the blog. I think it’s important to capture those everyday moments to document our families – not only for us parents, but also for our children and the generations to come, which is why I like to help people make their candids that much better. This past month I received the following question from Kelly P.

“…I have recently begun branching out and trying to learn to use my camera’s manual setting. My main objects are usually my kids! What I’m having trouble with is, trying to adjust the ISO, Aperture and shutter quickly before the moment has passed. I literally look up from my camera and they have gone! Is there a trick I am missing? Some fast way of adjusting settings in manual to capture quick moments with kids?…”

Thank you Kelly for your question. Manual settings can be a bit hard if you’re accustomed to the automatic modes on your camera. I only shoot in manual and I also deal with a lot of fast moving kiddos, so I know I can give you some advice on this subject. (the images above are some images of my daughter, Lily, running around) What I do is figure out what my ISO should be first. Remember back in film days? You had to buy film and you chose the type of film for the type of setting you would be shooting in. The most popular film was ISO 400, which gave you a wide range of sun conditions from sunny to cloudy days to even indoor situations. ISO 100-200 film is for super bright sunny days and 800-3200 film is for dark conditions (or sometimes just for a grainy look/feel in your B&W images). Well, digital ISO is pretty much the same. So, pick your ISO for the type of lighting conditions you’re in and then choose an aperture. I’m not sure what lens you have, but the smaller the f/stop number, the shallower the depth of field you’ll have. I tend to shoot a bit wide open (large aperture, low f/stop number). I just love how you get separation from your subject and your background this way. This can be tricky though too, as the area that will be in focus may be very small, so you have to make sure that you’re nailing your focus on your intended subject. To be on the safe side, go with f/5.6 – or even higher. Remember, the higher the f/stop number, the more of your scene will be in focus, which is great for moving targets! Now that you have your ISO and Aperture set, leave them there and all you have to worry about is moving your shutter speed dial. Much faster than trying to adjust all three on the go. Just remember, if you have a fast moving child, you want your shutter speed to be 1/125 or faster or you’ll get motion blur. I prefer 1/250 for running children. If you find that your shutter speed is going lower than 1/125, then adjust to a higher ISO. The other piece of advice that I can give you to make things even easier, is try to find a spot that has pretty consistent light, so your lil’ one isn’t running from shade, into sun, back into shade, back to bright sun, etc…. I know, easier said that done, but IF you can find such an area, you’ll be in heaven as once you set up your camera settings, you won’t have to make any adjustments and you can just shoot away! Hope this helps! Let me know if you need anything else. Happy to help.


Photo Tip I ~ Selective Focus | St. Louis Professional Photographer

I get a lot of questions regarding photography and how to take better candid shots, so I decided to start answering those questions within my  e-newsletter and here on{the blog}.

This question comes from a client of mine who got a Canon DSLR around the time her son was born:

“I want to take pictures similar to your photo of the month that has a focused image and a blurred background. Is this a lens need or a sofware editing need? I have tried to change the settings on my camera and don’t see a difference. Do I need a different lens other than the one that came with my camera (18-55mm). Do I need photoshop? Any advice is appreciated. Thanks so much.”

OK, first off, Ms B is referring to this first image from Mr L’s session that was last month’s photo of the month in the April’s Yvonne Niemann Photography e-newsletter. Notice how Mr L’s face is in great focus and the background and an area in front of him on the bed are blurred into a nice creamy smoothness? That’s bokeh as a result of the shallow depth of field, which I adore and do a lot of with my portraits to really make my subjects stand out and pop! This is something I achieve with my lens choices and where I place my subjects – not using editing software. I don’t like to spend a lot of time processing my images in my digital darkroom, so I try to get things as perfect in camera as possible. Sure lenses can make a difference, but before you go out and buy a new lens try out these tips with the lens you have and see if you get better results.

1) Use the smallest f/stop number that your lens allows. With your 18-55mm lens, that would be f/3.5 at 18mm (wide angle) and f/5.6 {zoomed all the way in to 55mm}. To choose your f/stop, you’ll want to be in M {manual} mode or AV {aperture priority) mode. (AV is a Canon thing – for those shooting with Nikon, you’ll set it to A}. The higher the f/stop number, the more will be in focus. This is perfect for when you want everything in your frame in sharp focus {think landscape}. In this example though, you want your subject to be in focus and your background out of focus, so you will need to choose a low f/stop number as I’ve outlined above.

Here’s an example using my daughter’s beloved lambie. Below, on the left, I have my lens set to f/4 and on the right, I have the same lens set to f/11. See a difference?

2) Keep your subject far away from the background and zoom your camera all the way in {with your lens, that’s 55mm}.

Notice that the picture on the left, the subject is further away from the wall than the one on the right. Do you see the difference that makes? Both images are at f/4 and are zoomed in to 50mm, but just the simple placement of the subject makes all the difference with how much is out of focus in the background.

OK, now practice this at home and see what you think. Take several shots at different f/stop numbers and at different distances and see how it affects your final image. If you’re STILL wanting more bokeh {remember, that’s the out of focus area of an image}, then perhaps you want to look into getting another lens. I highly suggest the 50mm f/1.8 lens {Canon and Nikon both make this lens} and it’s around $100. I do have to warn you though…it’s very hard to get things that you want in focus at those low f/stop numbers. It takes a lot of practice and therefore you may find yourself using that lens at a higher f/stop number until you get a grasp of things anyways. I strongly urge you to make the most of the equipment you have and only upgrade when you’re feeling limited and have learned how to use your current lineup to it’s fullest.

For those of you without a DSLR, you can still apply these tips with your point and shoot camera. Most will allow you to set your f/stop number these days and if not, well then just zoom in, keep your subject away from your background and have fun!

Hope this was helpful and please don’t hesitate to let me know if you have more questions. I know this can seem overwhelming and complicated, so I just hope it makes sense. If not, let me know and I’ll try to clarify.

If you have questions about photography and how to make your treasured candid shots even better, subscribe to the Yvonne Niemann Photography e-newsletter and e-mail me your question to info@yvonneniemannphotography.com  Each month, I’ll answer questions in the newsletter from subscribers. I won’t always post the answers here on the blog, so if you want to be “in the know” you’ll have to subscribe to the newsletter.

Good luck!

Athens, Georgia | info@yvonneniemannphotography.com

706.713.0676